How to Install a Deadbolt
No matter what kind of neighborhood you live in, home security is vital for all. Most people jump straight to thinking about installing a full-fledged surveillance system with a camera that overlooks the property or getting a large dog to guard the house. However, door locks are an easy and cheap, yet highly effective, option for keeping you and your loved ones safe.
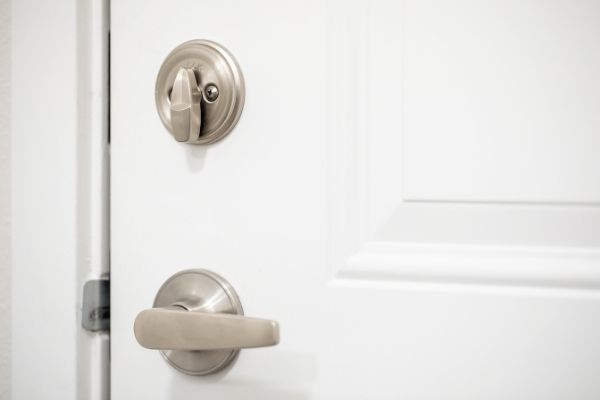
A deadbolt is one of the best lock types on the market that can help keep your home safe and sound when installed properly before use. Scroll down below to find out how to install a deadbolt to add an extra layer of security to your home.
Step 1: Mark Your Positions
To start things off, invest in a high-quality deadbolt lock from top brands like Stanley or Schalege for optimum security. Open up the box container and look for the paper template provided by the manufacturer. Figure out the best position for the lock; this is usually 44 inches from the bottom edge of the door. Next, paste your template over both sides and the edge of the door, securing it with painter’s tape. This will help you mark the two holes for the lock cylinder and the strike plate, respectively.
Step 2: Drill the Front for Lock Cylinder
Now that you have marked your spots, it’s time to bring out the power tools. Start by using a 2 1/8-inch attachment, or the size recommended by the manufacturer, with your drill to create a hole on the face of the door. While you can keep drilling all the way through from one side, we suggest you switch to drilling from the other side of the hole once you reach midway. Doing this gives the edges a cleaner look.
Step 3: Drill the Edge for the Latch Bolt
After the lock cylinder, it’s time to make space for the latch bolt. Select a 1-inch spade bit or choose an appropriate size as directed in the instructions to start drilling on the template mark on the edge of the door. Brace the door during the drilling process to create an even hole. Keep drilling through the side of the door until the hole for the latch bolt meets the one you previously drilled for the lock cylinder.
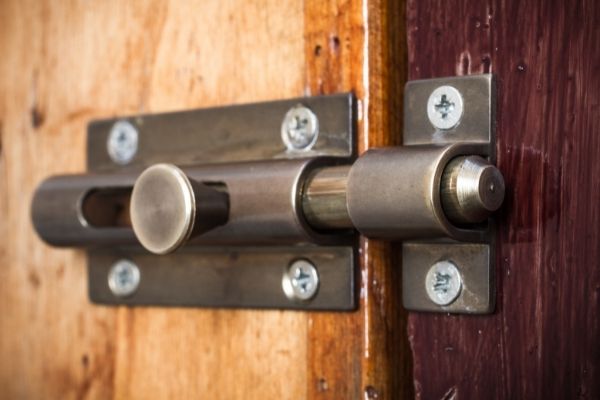
Step 4: Chisel a Mortise for the Strike Plate
Skim through the various parts of your deadbolt lock to pick out the strike plate. This flat piece of metal goes on the edge of the door, over the latch bolt hole. The smooth edges on the hole cut-out of the strike plate allow the latch bolt to move swiftly through it without any friction or interruption. Hold the strike plate over the latch bolt hole and trace out its boundaries. Next, remove the plate and carve a 1/8-inch-deep mortise with the help of a chisel and hammer.
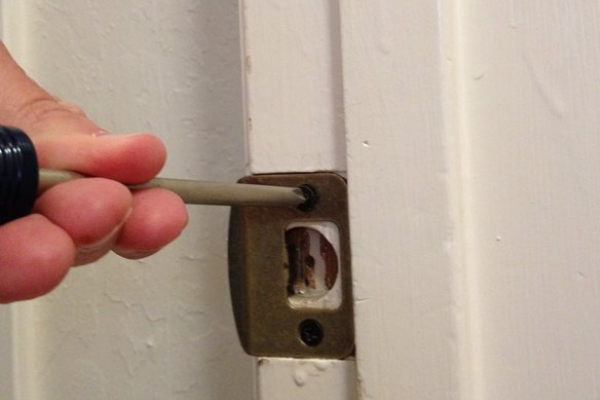
Step 5: Screw-In the Strike Plate
Once you have chiseled the edge of the door, place the strike plate back in its place, with the right side facing up. Place a block of wood over the plate to protect the plate. Lightly tap the block to press it into the mortise with a hammer. Once the plate gets fixed in the recess, just screw the plate into position using a screwdriver and the screws that come with the lock.
After you’re done, put the latch bolt through the 1-inch hole you drilled beforehand and secure it into place using screws included in the package.
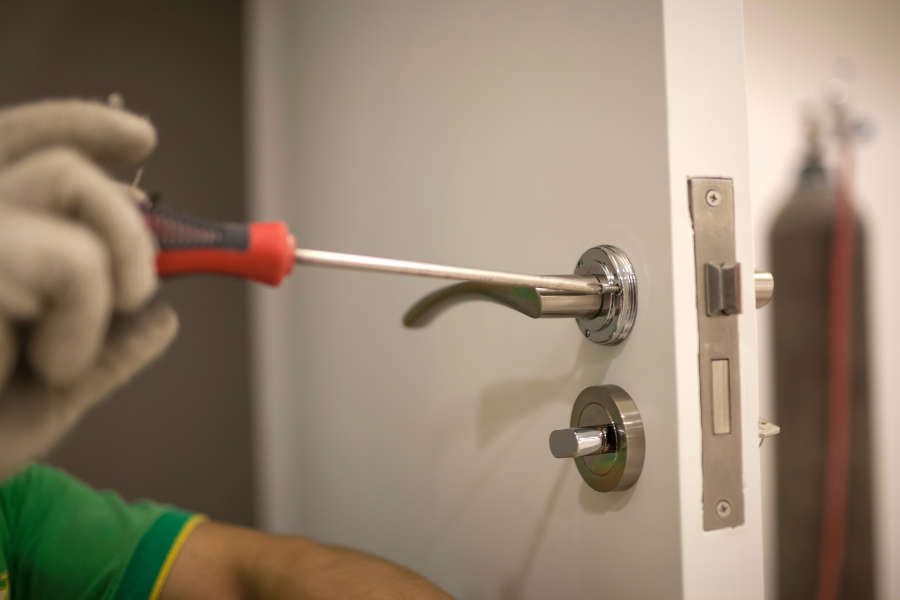
Step 6: Finish Installing the Deadbolt
Finally, it’s time to install the two halves of the deadbolt into the first hole you drilled. If you’re using high-tech deadbolts from the likes of Schalege, these come equipped with snap-and-stay technology that will make installing your locks a breeze.
For typical deadbolts, you will need to hold both sides of the deadbolt manually. This would be the perfect time to ask someone to assist you in holding both the front and backsides of the deadbolt to continue its installation. While screwing the halves into place, make sure you’re installing them the right way; the keyed half needs to be installed on the outer side of the door. Use an electric drill to put the long screws through the door with ease.
After installing your deadbolt lock, make sure to test it out a couple of times to be sure it’s working.
A Secure Lock Means a Secure Home
When it comes to your and your family’s safety, it is the one thing you can’t compromise on. With the right tools and our helpful guide, you’ll be well on your way to making your home a better and safer place to live.