Finding Your Way: Mastering the Art of Navigating with a Compass
Introduction
The Magnificent History of Compasses
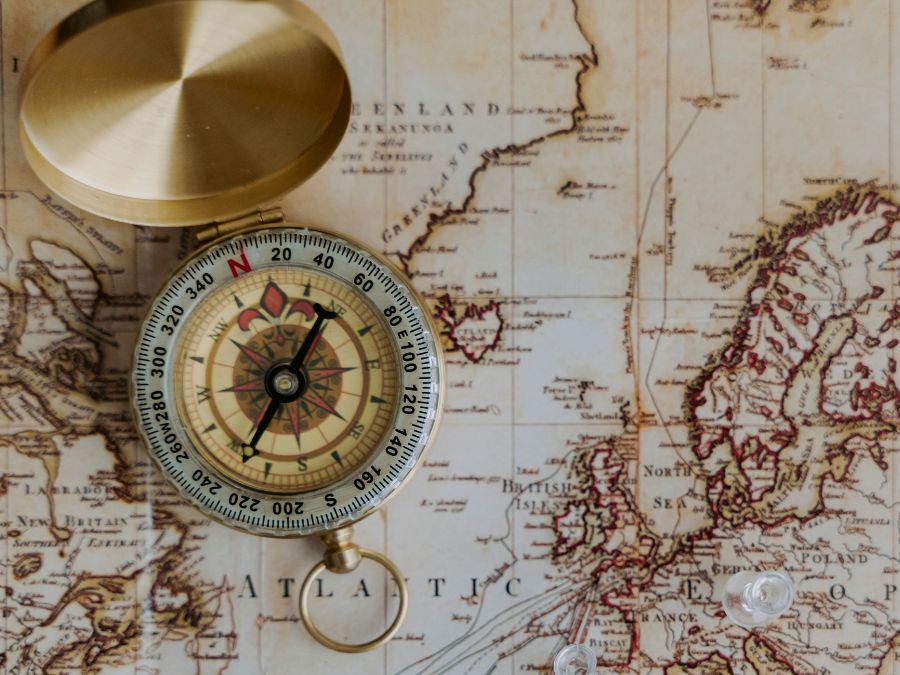
Compasses have been used for navigation for over 2000 years. The first compass-like instrument was invented in China during the Han Dynasty, around 206 BC. These early compasses were made from a piece of loadstone (a naturally magnetized mineral) shaped like a spoon and placed on a bronze plate with markings indicating the cardinal directions. During the Middle Ages, European sailors began to use compasses to navigate the seas.
Compass technology continued to evolve, with improvements such as the invention of the floating compass needle in the 16th century and Dry Compass Card in 1928. Today, there are various types of modern compasses that use different mechanisms, but they all serve one common purpose: to help us find our way.
The Importance of Learning How to Use A Compass
In modern times, many people rely solely on GPS and digital maps for navigation. However, it is always wise to have a backup plan in case your technology fails or you find yourself without reception or battery life. Knowing how to use a compass can be a lifesaver when you’re out in nature or on an adventure far from civilization.
Additionally, using a compass can enhance your navigation skills and make outdoor activities such as hiking or camping more enjoyable by allowing you to explore off-the-beaten-path destinations with confidence. It also adds value when reading maps since it helps determine orientation properly; this way you always know which direction you should move towards.
Learning how to use a compass may seem daunting at first glance but it is an essential skill that will make exploring outdoors safer and more rewarding. With some knowledge under your belt and practice using your gear before heading out into nature you’ll be able to navigate like an expert in no time!
Understanding the Basics
Components of a Compass
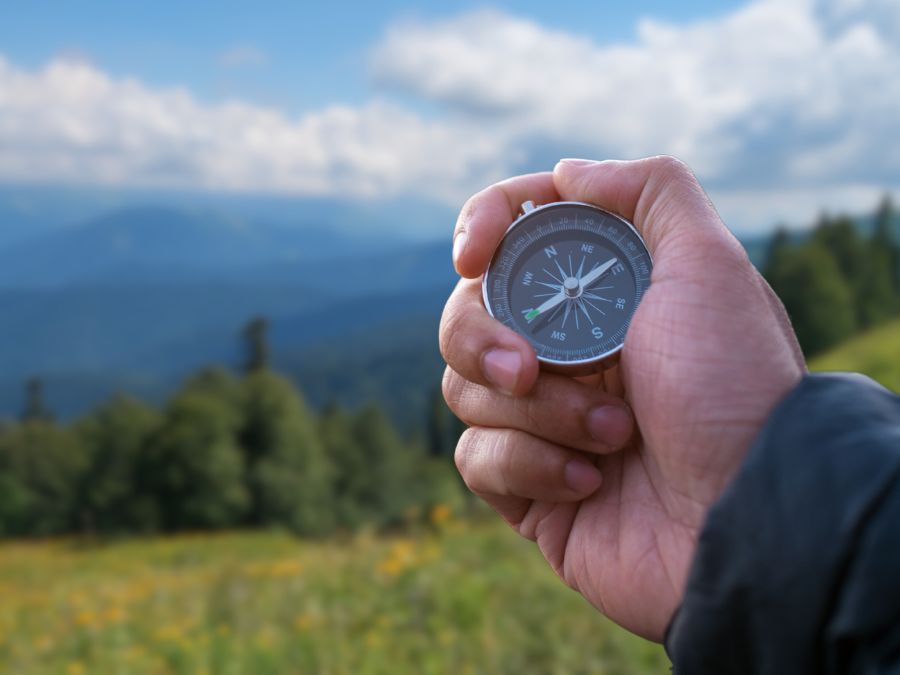
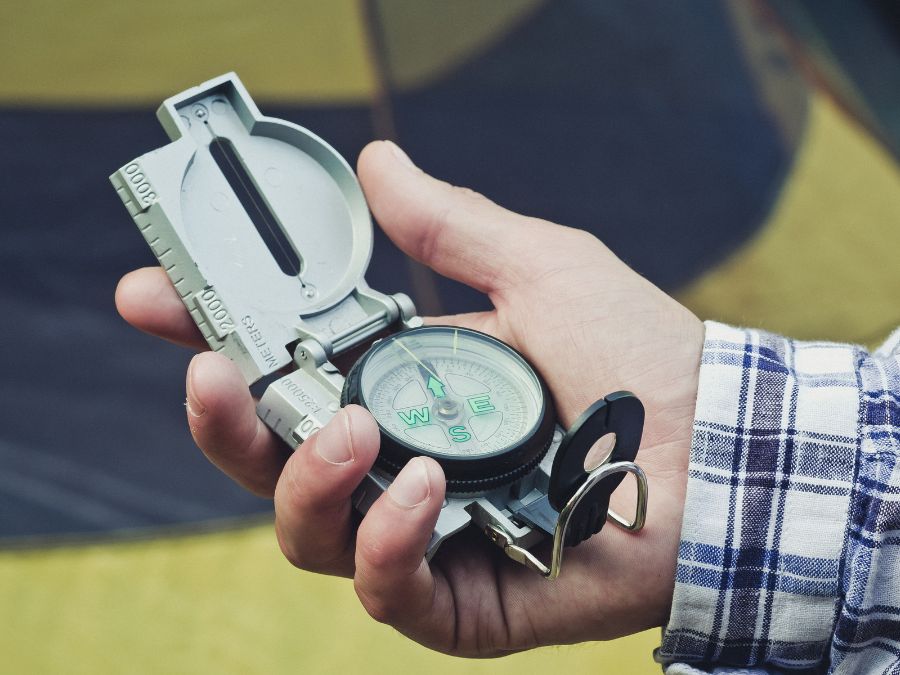
Before we dive into using a compass, it’s important to understand the different components. The most basic compass consists of a magnetized needle that is balanced on a pivot point. The needle is usually marked with an arrow indicating north, which points to magnetic north.
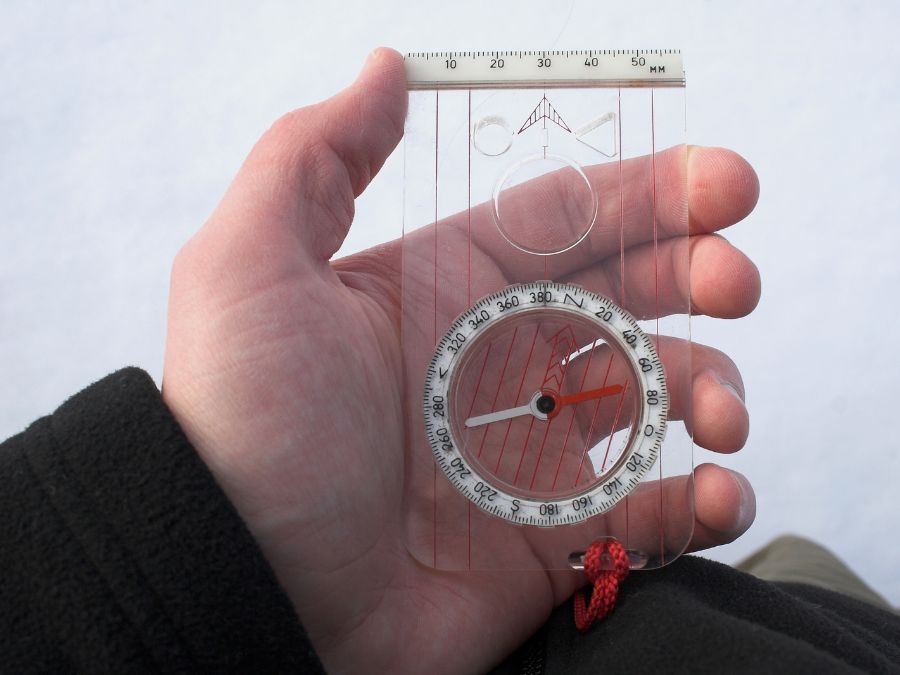
Alongside the needle, there is usually a rotating housing with degree markings around the edge, known as the bezel. Some compasses also feature a sighting mirror which helps you aim more accurately.
Magnetic North vs True North
Magnetic north and true north are not the same thing! True north refers to the geographic North Pole, while magnetic north is where your compass needle points to.
This difference can be significant and can cause errors in navigation if not taken into account. In some areas of the world, magnetic north and true north line up almost perfectly while in others there can be up to tens of degrees difference.
Declination
Declination refers to the angle between magnetic north and true north at your current location. It’s important to know this because it will help you adjust your bearings accordingly and avoid errors in navigation.
Most maps will indicate declination so you can make adjustments before taking bearings with your compass. If you’re unsure about how to adjust for declination or don’t have access to this information on your map, it’s best to seek advice from an experienced navigator before setting out on your journey!
Preparing for Navigation
Choosing the Right Map – Don’t Get Lost in the Details
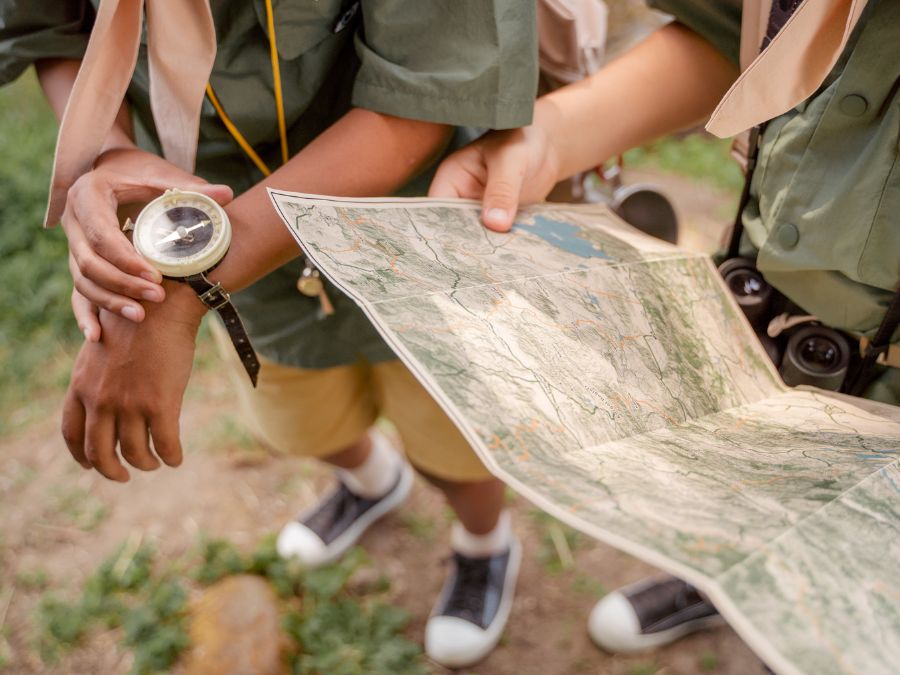
Before heading out on your journey, it’s important to choose a map that is appropriate for your adventure. Maps come in all shapes and sizes, and choosing the right one can make all the difference. Start by considering where you’ll be going: if you’re sticking to marked trails, a basic topographical map will suffice.
But if you’re venturing off-trail or into unfamiliar territory, consider a more detailed map with contour lines and other topographical features. Also consider the scale of the map – meaning how much area is covered and how detailed it is.
A 1:24,000 scale is common for hiking maps and offers a lot of detail for navigation on foot. However, if you’re covering more ground by car or bike, a larger-scale map (like 1:100,000) might be better suited to your needs.
Setting up Your Compass – Making Sure You’re Pointing in the Right Direction
Once you have your map in hand, it’s time to set up your compass. Begin by laying your compass flat on the map with its edge running along the direction of travel (from point A to point B). Then rotate the dial until north on the compass aligns with true north on the map (you can find this by looking at declination or using an app like Google Maps).
Next, adjust your compass for magnetic declination – which is essentially compensating for differences between magnetic north (where your compass needle points) and true north (the actual location of earth’s magnetic north pole). This adjustment varies depending on where you are located; check online resources ahead of time for guidance before heading out into remote areas.
Orienting Your Map – Matching Reality with Your Map
Now that your compass is set up, it’s time to orient your map. Orienting a map means turning it so that its north-south axis is aligned with the north-south axis of the real world. This will help you read the map more accurately and determine true directions and distances.
With your compass on top of your map, turn the compass dial until the magnetic needle aligns with grid north (the vertical lines on topographical maps), then rotate the entire map and compass together until the magnetic arrow matches up with true north. This process ensures that you’re looking at your map in a way that matches reality, making navigation much easier once you hit the trail.
Taking Bearings
The process of taking a bearing is essential in utilizing a compass to navigate the outdoors. First, it’s essential to understand the sighting mirror, which is a small mirror located below the compass needle and helps you sight targets from a distance. Next, it’s crucial to note that you don’t look directly at the target landmarks when taking bearings as this will cause errors in your readings.
Using the Sighting Mirror
Before you can take bearings, you must first learn how to use the sighting mirror. To use it correctly, hold your compass up to your eye and tilt it slightly towards you until you see an image of the target in the mirror. Then, adjust your body or move around until you see both images clearly in line with each other.
Taking a Bearing on a Landmark
To take bearings on landmarks or objects like trees or rocks, start by sighting along the object using your sighting mirror as described above. Once you have your image lined up correctly in both mirrors and can see it clearly through both eyes, read off the angle indicated on your compass dial and write it down.
Following a Bearing
After taking bearings on one or more landmarks, follow them by keeping your needle aligned with them while walking along a straight path. The direction indicated by your needle will always point towards magnetic north; hence if you’re following an east bearing but encounter an obstacle such as hills or rivers that force you off course slightly; keep adjusting back to east as necessary so long as it doesn’t put yourself into danger.
Navigating with a Compass
Dead Reckoning Navigation:
One of the most basic uses of a compass is dead reckoning, which involves using the compass to travel in a straight line from one point to another. Dead reckoning is especially useful when traveling through areas where there are no obvious landmarks or trails. To navigate using dead reckoning, first determine your starting point and your destination on a map.
Then, set your compass to the desired bearing (direction) and begin walking in that direction while keeping the compass level and steady. It’s important to pay close attention to your surroundings as you navigate with dead reckoning, as it can be easy to become disoriented or veer off course if you’re not careful.
Look for subtle landmarks such as trees, rocks, or changes in terrain that can help keep you on track. Also, make sure to periodically check your compass and adjust your bearing if necessary to stay headed in the right direction.
Triangulation Navigation:
Another useful technique for navigating with a compass is triangulation navigation, which involves using the compass along with two known points (such as two peaks or other prominent landmarks) to determine your location on a map. The goal of triangulation navigation is to form an imaginary triangle between yourself and the two known points so that you can pinpoint exactly where you are on a map. To use triangulation navigation, first identify two prominent points on your map that can be easily seen from your current location.
Then, take a bearing from each of those points using your compass and note where those bearings intersect on the map – this is likely where you are located. By repeating this process with additional known points (if available), you can further refine your location until it’s pinpoint accurate.
Overall, navigating with a compass takes practice and patience – but it’s an incredibly valuable skill to have, especially when exploring unfamiliar wilderness areas. With a little bit of practice and a sense of adventure, you’ll be navigating like a pro in no time!
Advanced Techniques
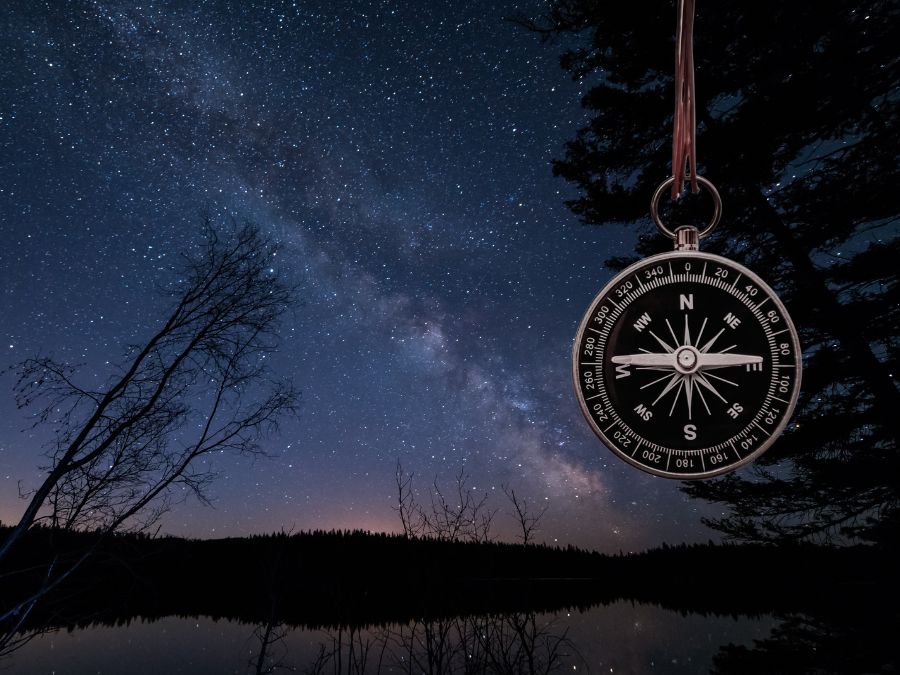
Nighttime Navigation Using a Compass and Stars
If you’re planning to navigate using a compass at night, it’s important to have a good understanding of the stars. By knowing which stars are visible at different times of year, you can use them as reference points to help you stay on track.
To get started, find the North Star (Polaris). It’s located directly above the Earth’s North Pole and is always visible in the Northern Hemisphere.
Once you’ve found Polaris, hold your compass flat in your hand and align it with the North Star. This will give you an accurate reading of true north.
From there, use the same techniques for taking bearings as you would during the day. It’s also important to bring a good flashlight with you when navigating at night.
Look for one with a red light setting so that you don’t ruin your night vision (which takes about 20 minutes to fully adjust). And remember that navigation at night is much slower than during daylight hours, so be prepared to take your time and double-check your bearings frequently.
Adjusting for Declination on the Fly
Declination refers to the difference between magnetic north (the direction that a compass needle points) and true north (the direction towards the North Pole). Because this difference can vary based on your location, it’s important to adjust for declination when navigating with a compass. One way to do this is by adjusting your compass before heading out into the wilderness.
You can find declination information online or in guidebooks, and then adjust your compass accordingly using small screws or knobs on its underside. However, if you don’t have time or simply forget to make these adjustments beforehand, there are still ways to account for declination while out in nature.
One technique is called “on-the-fly” adjustment: when taking a bearing, simply add or subtract the declination from your compass reading to get an accurate true north bearing. This technique requires a bit of mental math, so it’s important to be comfortable with basic addition and subtraction before attempting it in the field.
Tips and Tricks
Keeping your compass safe and dry
One of the most important things to remember when using a compass is to keep it safe from damage and moisture. A damaged or wet compass can easily give inaccurate readings, which can lead to getting lost in the wilderness.
Therefore, it’s essential to protect your compass by investing in a good quality carry case or pouch that will keep it dry when not in use. When you’re out navigating, it’s beneficial to attach your compass securely to an item of clothing or a bag strap using a lanyard.
This ensures that if you accidentally drop the compass, it won’t get lost. Additionally, avoid placing your compass near any magnets or electronic devices as they can interfere with its magnetic needle.
Practice makes perfect
Using a compass may seem intimidating at first, but like any skill, practice makes perfect. The more you use your compass, the more comfortable you’ll become with taking bearings and following them accurately.
Start by practicing in familiar environments such as parks or local nature reserves where there are clear landmarks and paths that you can follow easily. Once you’ve gained confidence navigating in these areas, challenge yourself by navigating through more complex terrain with no clear paths or landmarks.
It’s also helpful to practice navigation using different techniques such as dead reckoning or triangulation navigation methods mentioned earlier in this article. By regularly practicing these techniques, you’ll be better prepared for any situation where navigation skills are required.
Conclusion
Recap of key points: In this article, we’ve covered the basics of using a compass for navigation. We discussed the components of a compass, magnetic north vs true north, declination, choosing the right map, setting up and orienting your map and taking bearings. We also explored dead reckoning and triangulation navigation techniques as well as advanced strategies like nighttime navigation and adjusting for declination on the fly.
Encouragement to get out there and practice using your compass: Now that you have a comprehensive understanding of how to use a compass, it’s time to put your knowledge into practice. Don’t wait until you’re lost in an unfamiliar wilderness to test out your skills.
Get out there with your map and compass in hand, and start exploring! Start with easy trails or hikes that you are familiar with before moving onto more challenging ones.
Remember that learning how to use a compass is a skill that takes time and practice to master. But with patience and persistence, you’ll be navigating like a pro in no time!
So what are you waiting for? Get outside, enjoy nature, explore new territory, but most importantly—stay safe!