5 Best Tiling Tips To Make Your DIY Project A Success
Do you want to breathe new life into your old space without hiring a professional?
DIY tiling might just be the answer to your troubles!
It’s easy to see why so many homeowners are doing their own tiling renovations and home improvement projects – it’s fast, effective, and certainly cheaper. And besides beautifying your surroundings, the new tiles also help increase the value of your property.
So, are you feeling ready to start your DIY tile work?
Perfect!
Check out these five handy tips to ensure success on your very own tiling project, as well as some common mistakes to avoid.
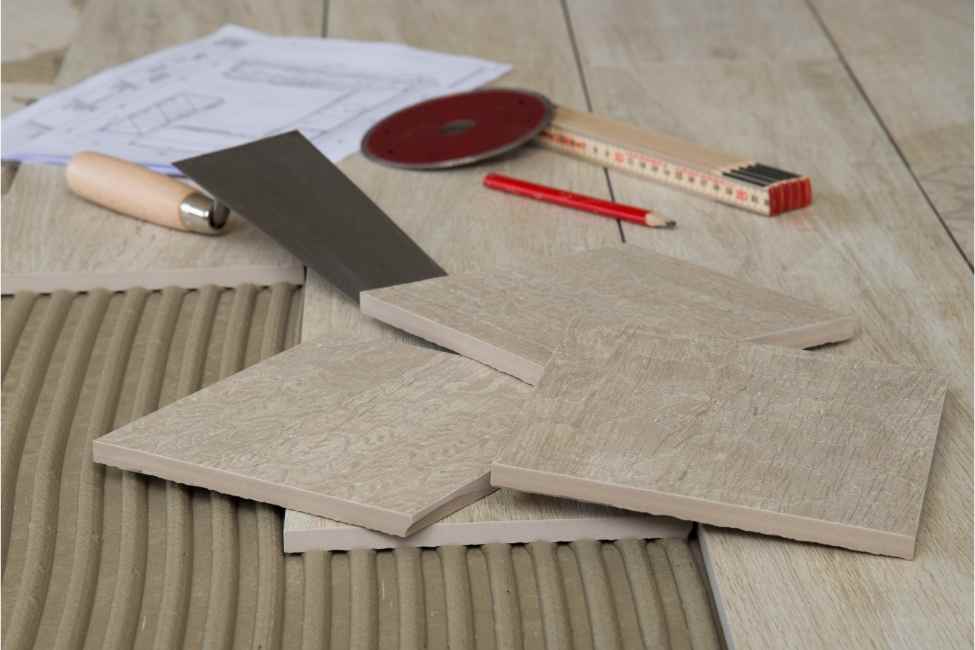
1. Getting the Right Tools
Your first step toward starting a successful tiling project is getting all the necessary tools. You should have everything ready before you begin working for maximum productivity and minimum interruption during work. While the exact tiling requirements of your project may vary, here is a list of some essential tools that are useful for any kind of tiling job:
- Measuring tape
- Hammer
- Buckets
- Level
- Drill with a paddle mixer
- Backboards
- Grout float
- Notched trowels
- Equipment for cutting tiles
- Spacers
- Tile grout and adhesive
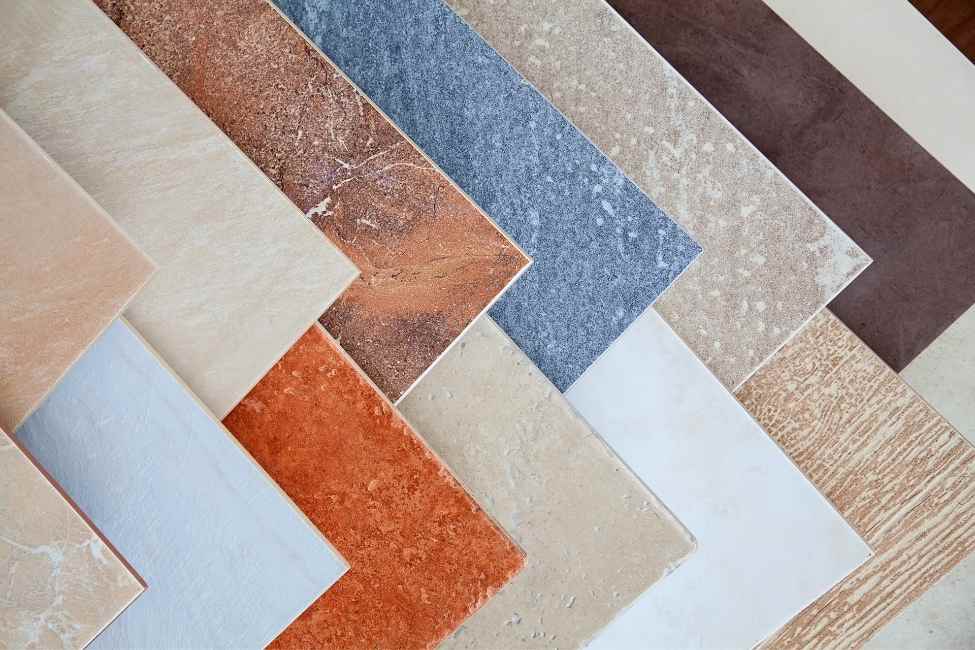
2. Selecting A Suitable Finish
Choosing the best finish for your tiles depends mainly on two factors; your style preference and the area where you wish to install the tiles. If you want to upgrade your bathroom walls, glazed ceramic or porcelain tiles will add a nice touch. However, for the bathroom and kitchen floors, you’ll need something with a non-slippery surface, such as matt finish porcelain tiles. They are water resistant, easy to clean, and look great too.
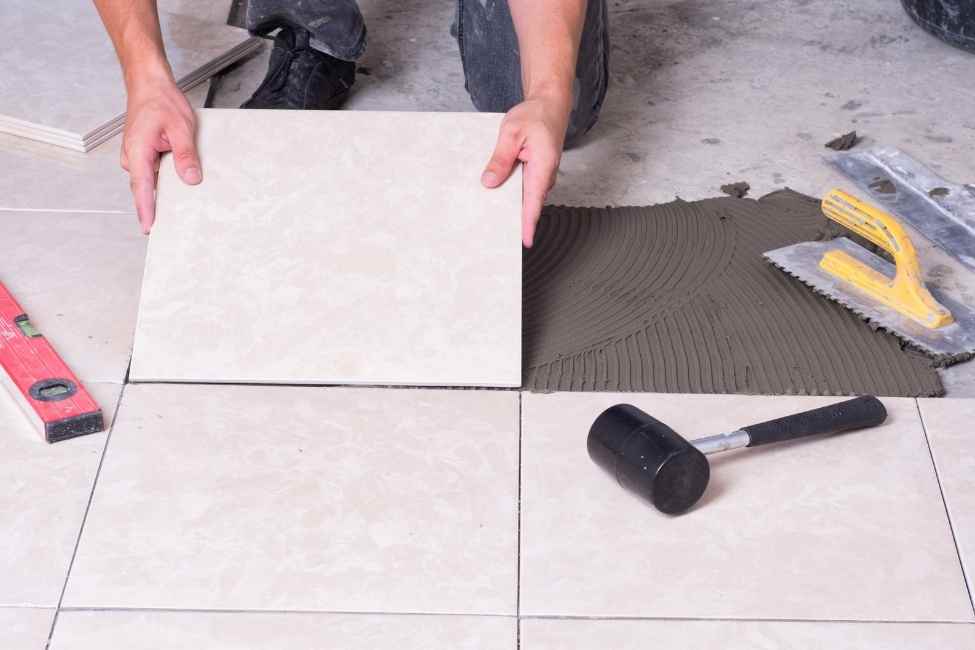
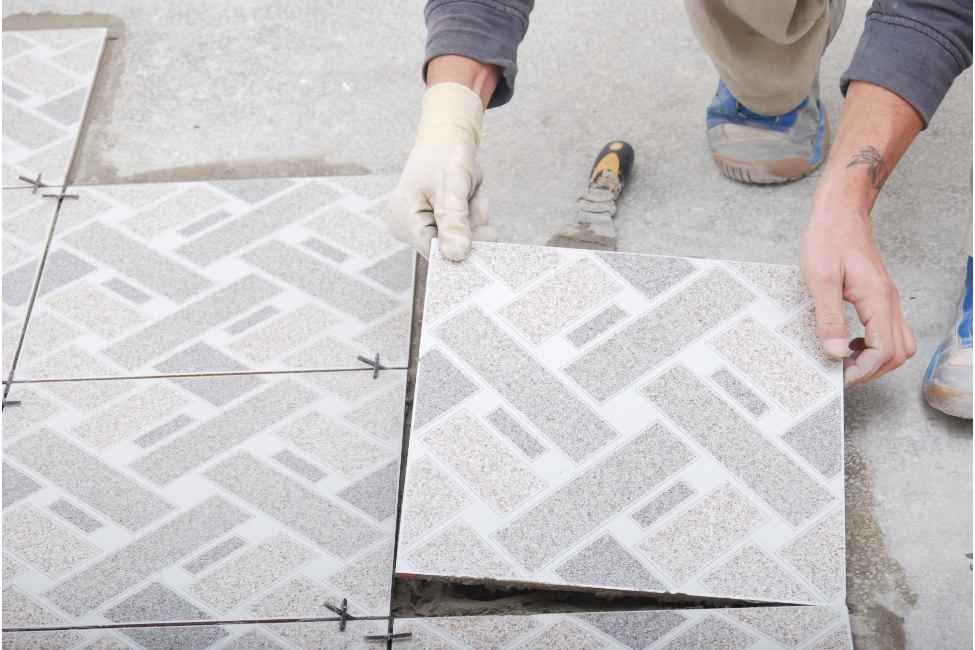
3. Start With Dry Laying
Want your floors to look like they were tiled by a professional?
Then don’t forget to do all the prep work that needs to be taken care of before putting down the tiles for good. Dry laying your tiles can help you better plan and execute your project, reducing the chances of errors and unwanted outcomes. To start:
- Use a pencil or chalk to divide the floor into four equal sections.
- Use these lines as references when laying down the tiles, ensuring even and flat application.
- Mark any tiles that will need cutting to fit the space.
4. Scrub The Surfaces
If you’re hoping to get away with having dirty walls and floors by installing new tiles over them, you better think twice!
Grease and grime left on the surface can cause issues during installation by preventing the mortar or adhesive from sticking to the tiles. So, grab a cleaning brush and diluted fairy liquid to scrub and clean all areas before you tile. You can also use an abrasive pad to smooth out any unevenness due to build-up.
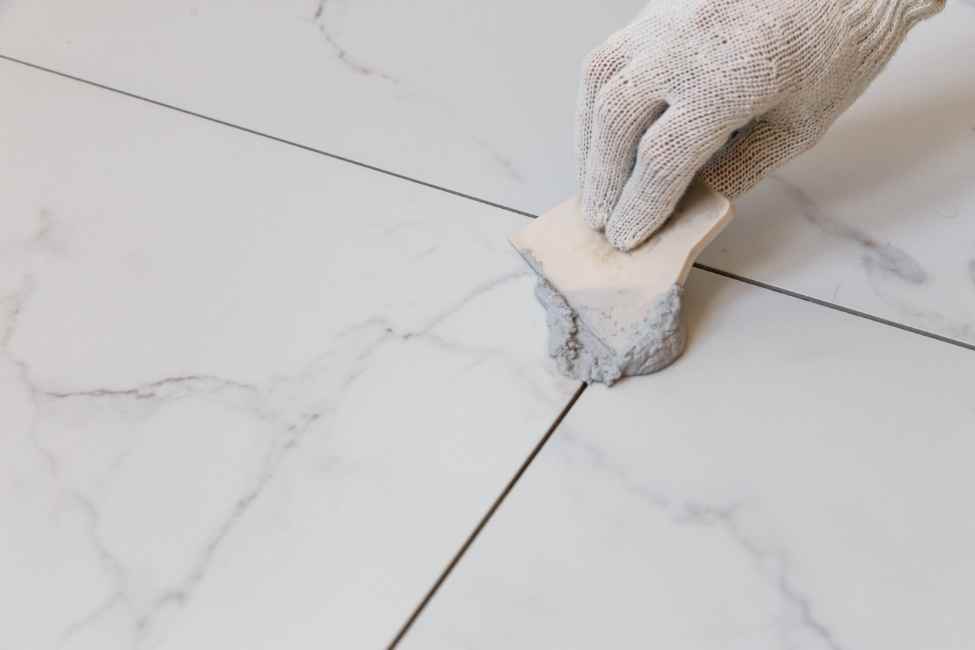
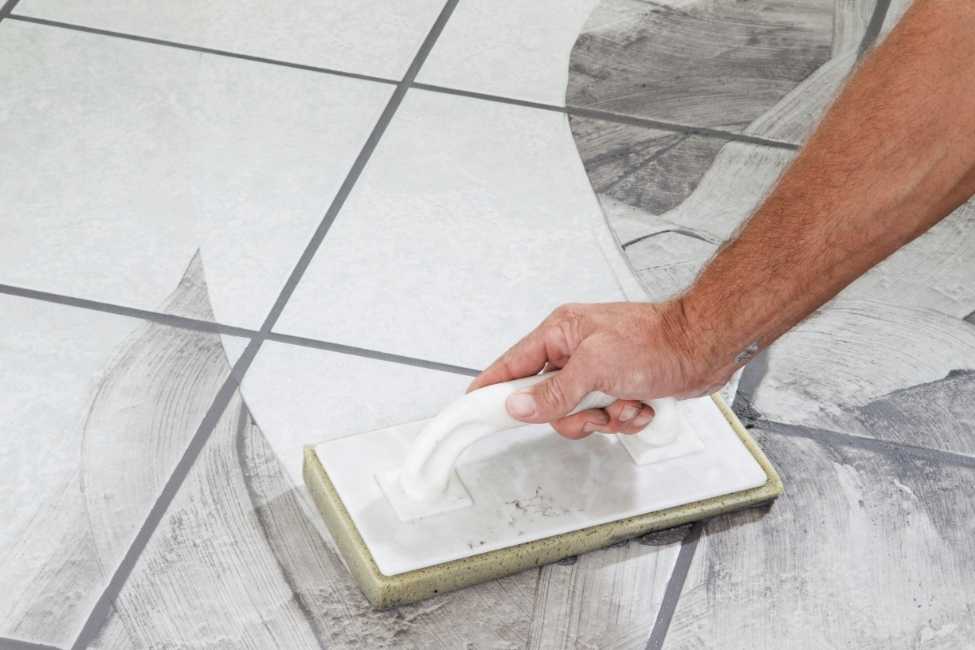
5. Grout Matters!
In tiling, you can’t overlook the importance of getting the right grout for your project – it’s almost as crucial as buying the correct tiles themselves!
Essentially there are three kinds of grout available on the market. The first is non-sanded grout, used in projects where adjacent tiles have less than an eighth of an inch distance between them. For installations having larger spacing in between, sanded grout is a suitable option. Thirdly, epoxy grout is better at resisting water and lasts longer but has a shiny plastic appearance.
The type of grout you choose depends on your choice of tiles and where you’re installing them. Generally, it’s advisable to buy grout that closely matches your tiles’ finish and appearance for a seamless application.
Common DIY Tiling Mistakes
Working Without a Plan
As with any DIY project, it is crucial that you plan before you pick up your tools and get to work. Prior to fitting the tiles in place, roughly sketch what you want the final result to look like.
Instead of rushing to fit the tiles, planning in advance saves you the time and effort of undoing sections of work later. It also lets you determine how many tiles you’ll need in total, as well as the number of tile cuts that will be necessary to complete the job.
Calculating the Number of Tiles Wrong
Buying too many or too few tiles for a project is one of the most common mistakes people make. You suffer in both cases; running out of material at the last minute is frustrating while having too much means you’ve spent money on extra tiles that have no use.
To avoid both situations, experts recommend ordering only 10% more tiles than you anticipate using. This surplus amount should be enough to compensate for any unexpected breakages during cutting and handling.
Not Using a Backboard
Have you fallen in love with a tile design at the store, and now you want it in every room?
Not so fast!
Before making a purchase, you must make sure the tile you’re choosing is appropriate for where you intend to use it. Not all tiles are created equally; what might work for the kitchen floor will not work for the bathroom walls. Furthermore, the type of tile you choose depends on whether it will be installed indoors or outdoors, on the walls or the floor, the room’s size, etc.
Using Cheap Quality Tiles
Working on your DIY project, you may be tempted to buy the cheapest tiles you can lay your hands on. But while pinching pennies might help you save in the beginning, it usually means you’ll end up spending way more in the long run. As a result, buying high-quality materials that require less maintenance and last longer is always advisable.